Projects Creation
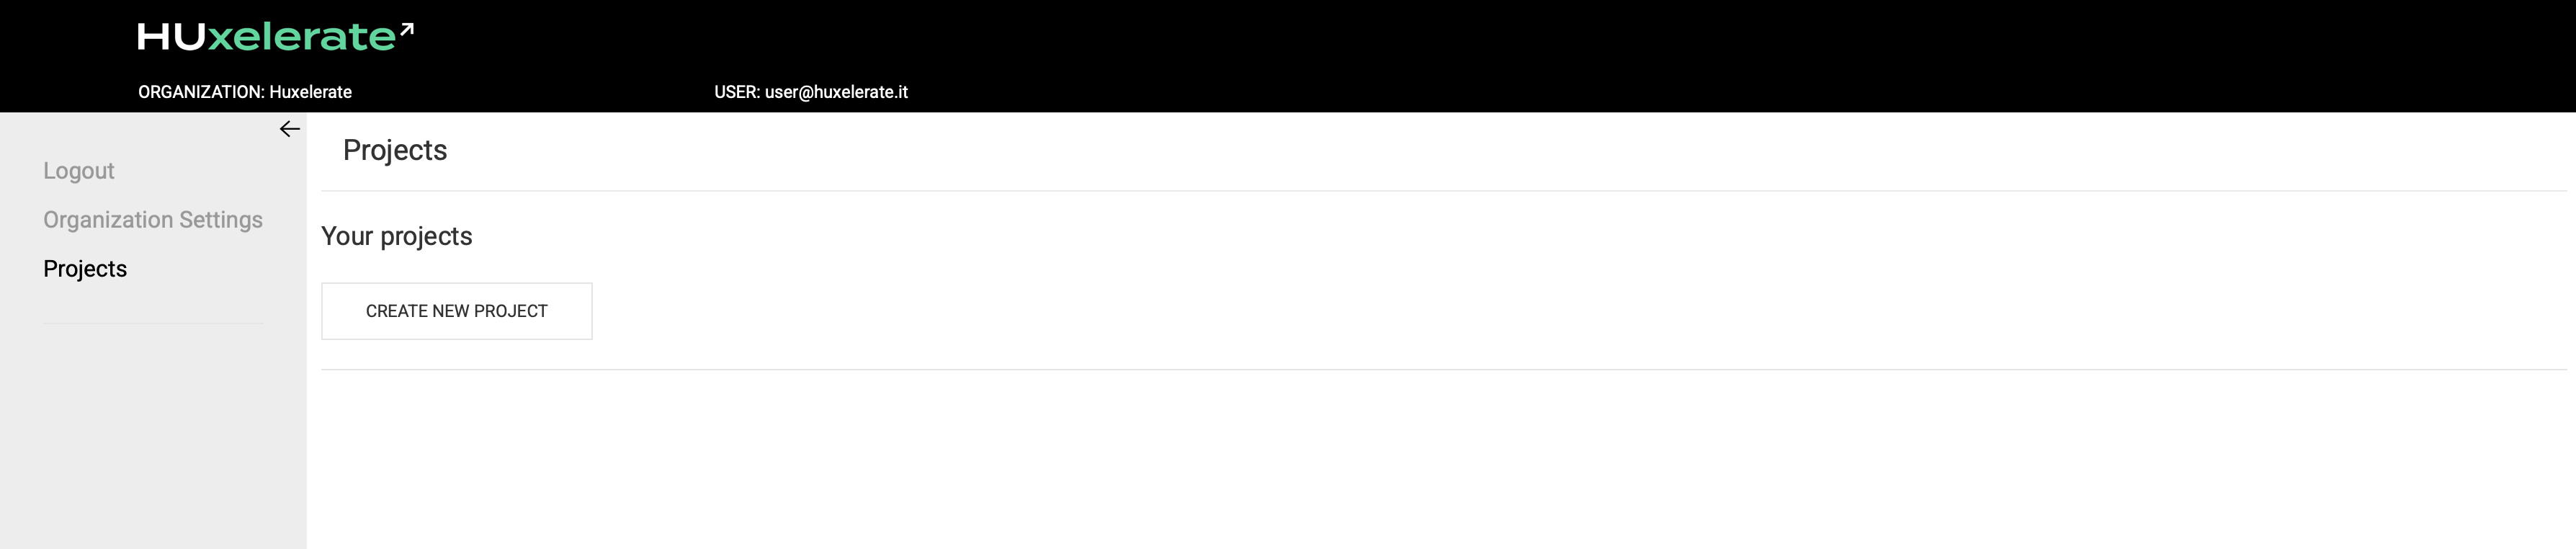
To create a project, simply navigate to the Projects section from the side bar menu, and click on CREATE NEW PROJECT.
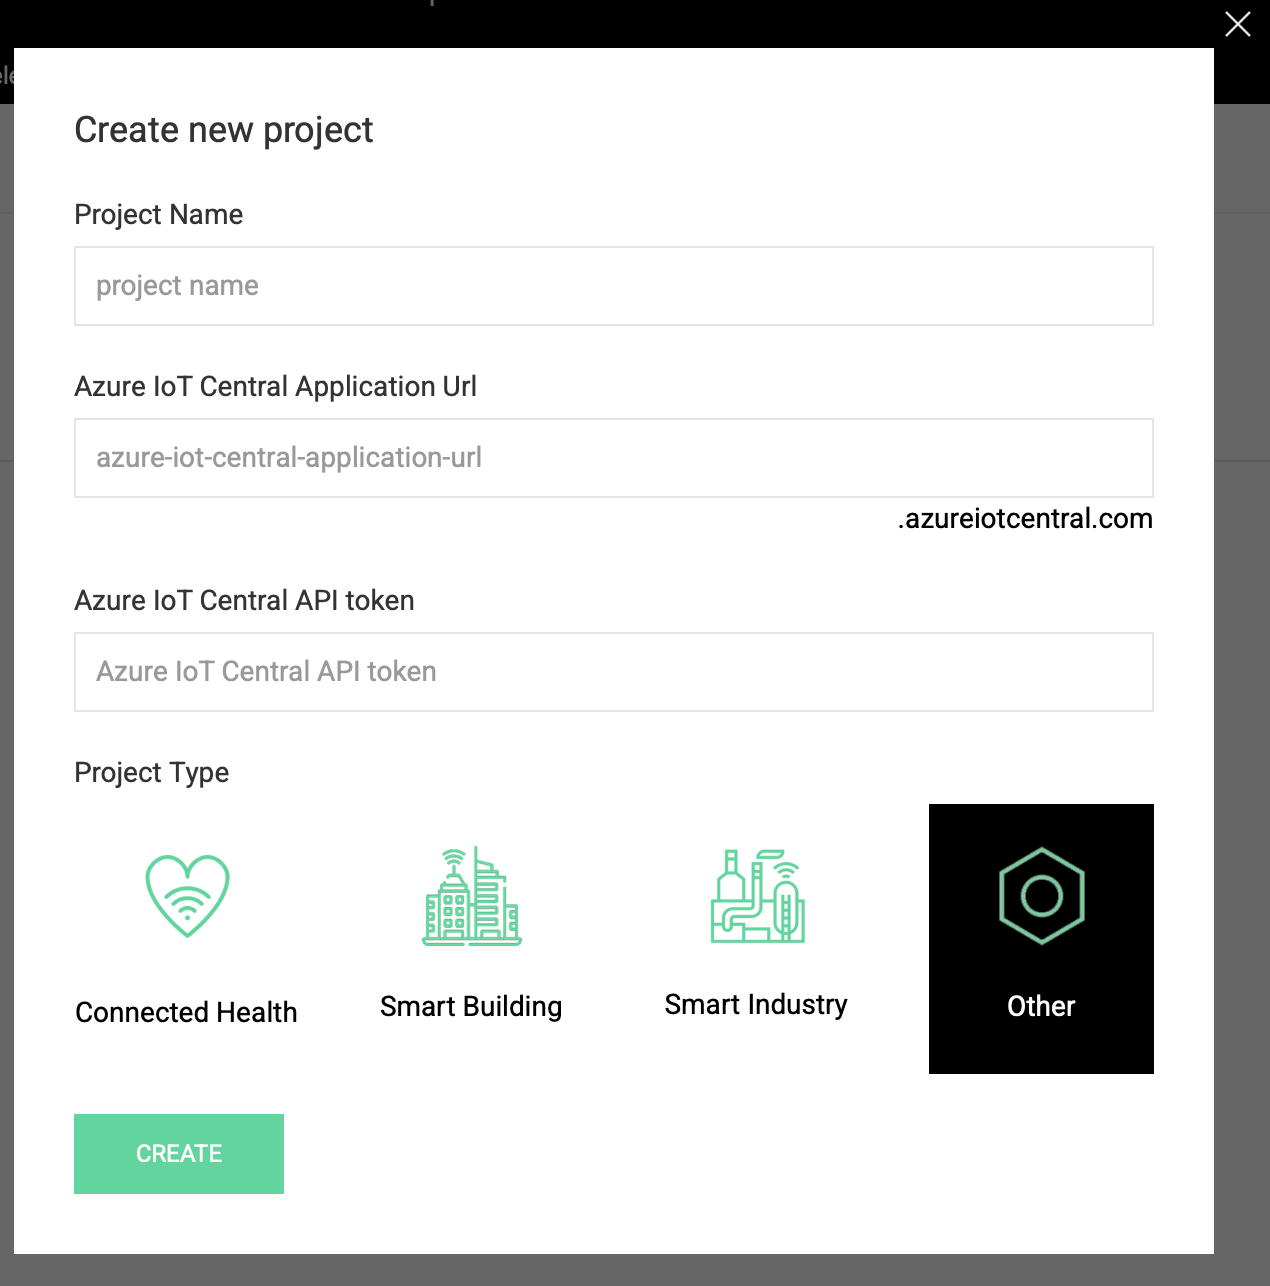
Huxon will ask for some details regarding your project and in particular:
Project Name: the name that identifies the project inside Huxon.
Azure IoT Central Application Url: the name of your Azure Central Application where your meaningful data is going to be published. Currently, Huxon does not handle the creation of an Azure Central Application for you (create one here). Inside this field, you have to type in the Application URL of the application. You can find the Application URL on the webpage of the Azure Central Application (<Application URL>.azureiotcentral.com), on the left-side of the screen, under Settings, click on Application, and get the text in the Application URL field.
Azure IoT Central API token: the authentication Token (info on how to create it here) that you can generate inside your Azure Central Application. This will be used by Huxon to create Device Templates and Devices inside your Azure Central Application. Such devices act as proxies for the Virtual Sensor you will create inside the project.
Project Type: select your project type from 4 categories: Connected Health, Smart Building, Smart Industry or Other.
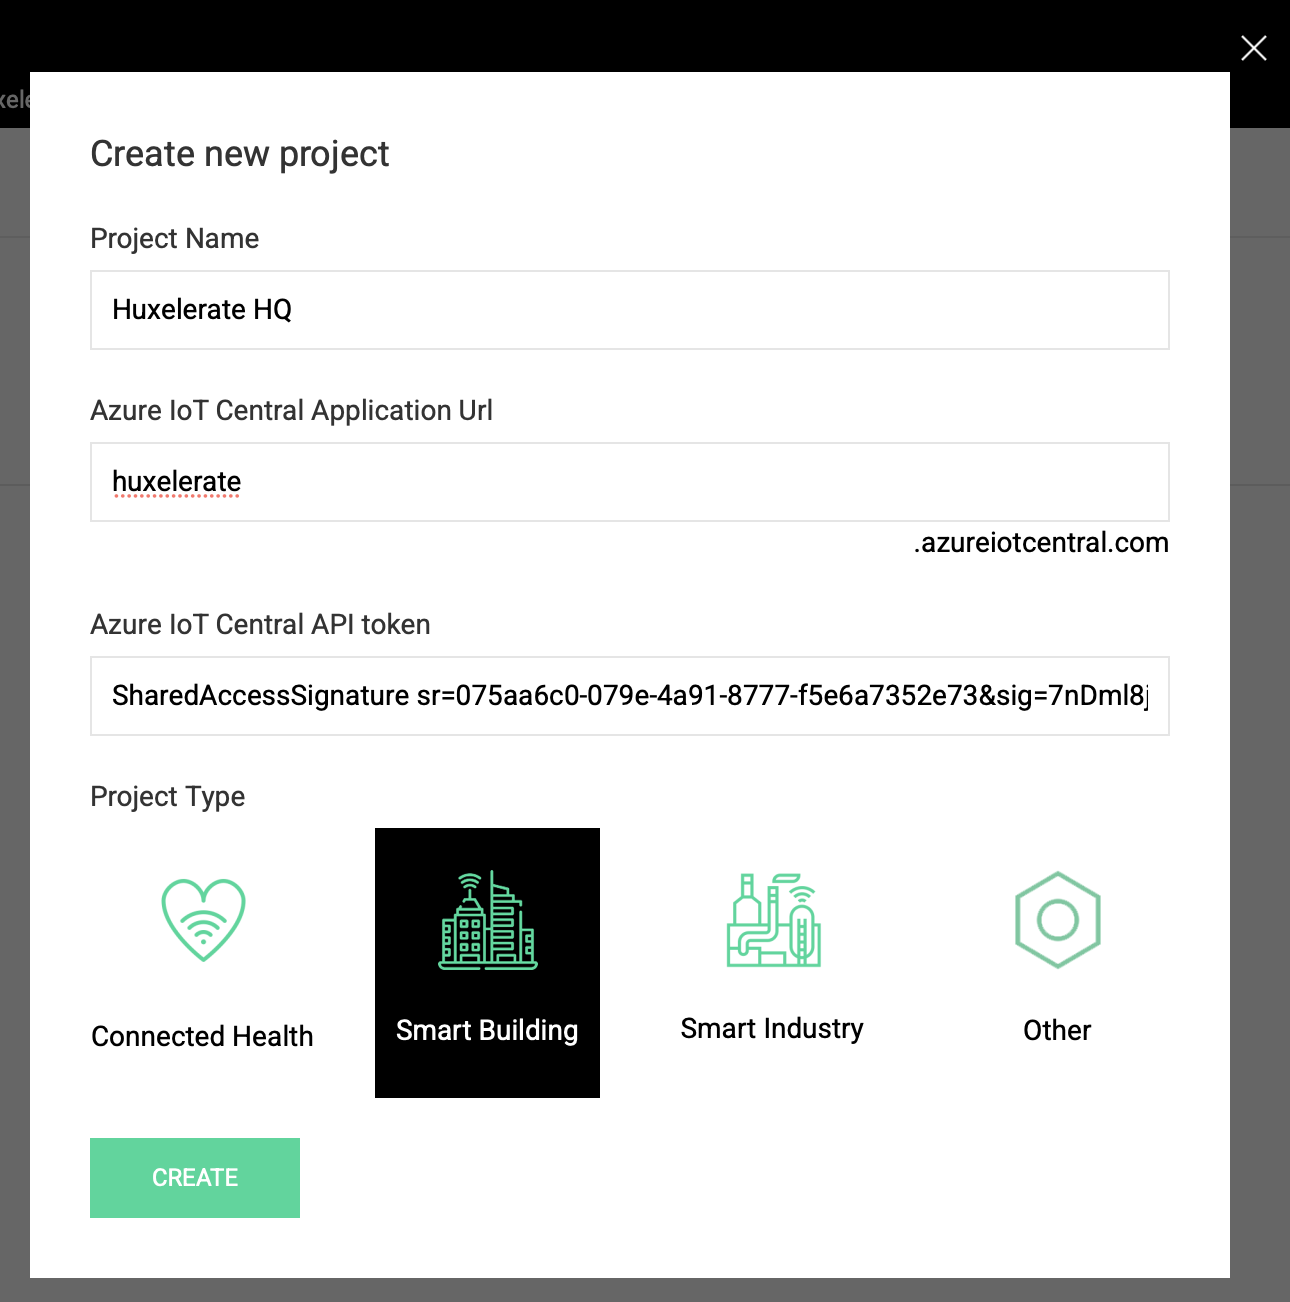
Fill all the details with your project data and click on CREATE.
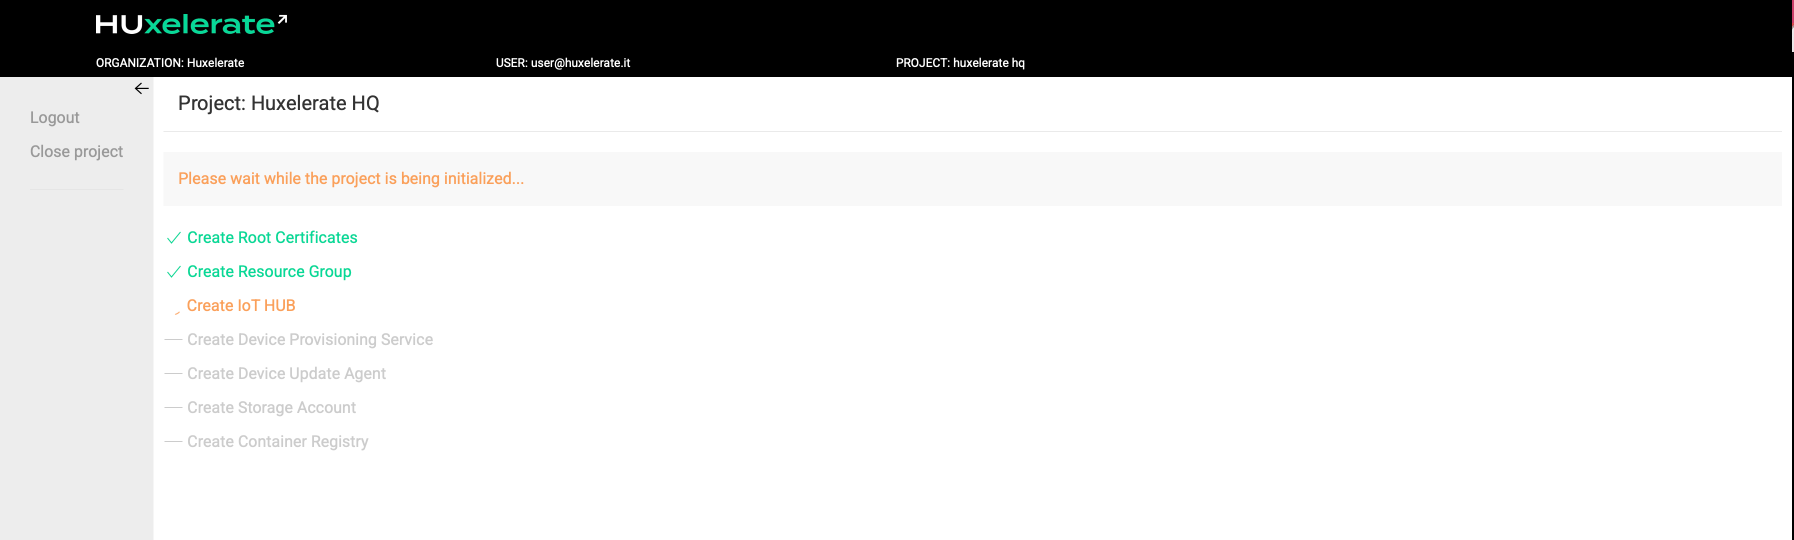
Once all the details are analyzed, Huxon will start creating all the necessary resources on your Microsoft Azure Subscription. From this point all the resources are managed by Huxon and should not be modified by the user to avoid unexpected behaviors.
When the resources are ready, Huxon will automatically update and open your new project.
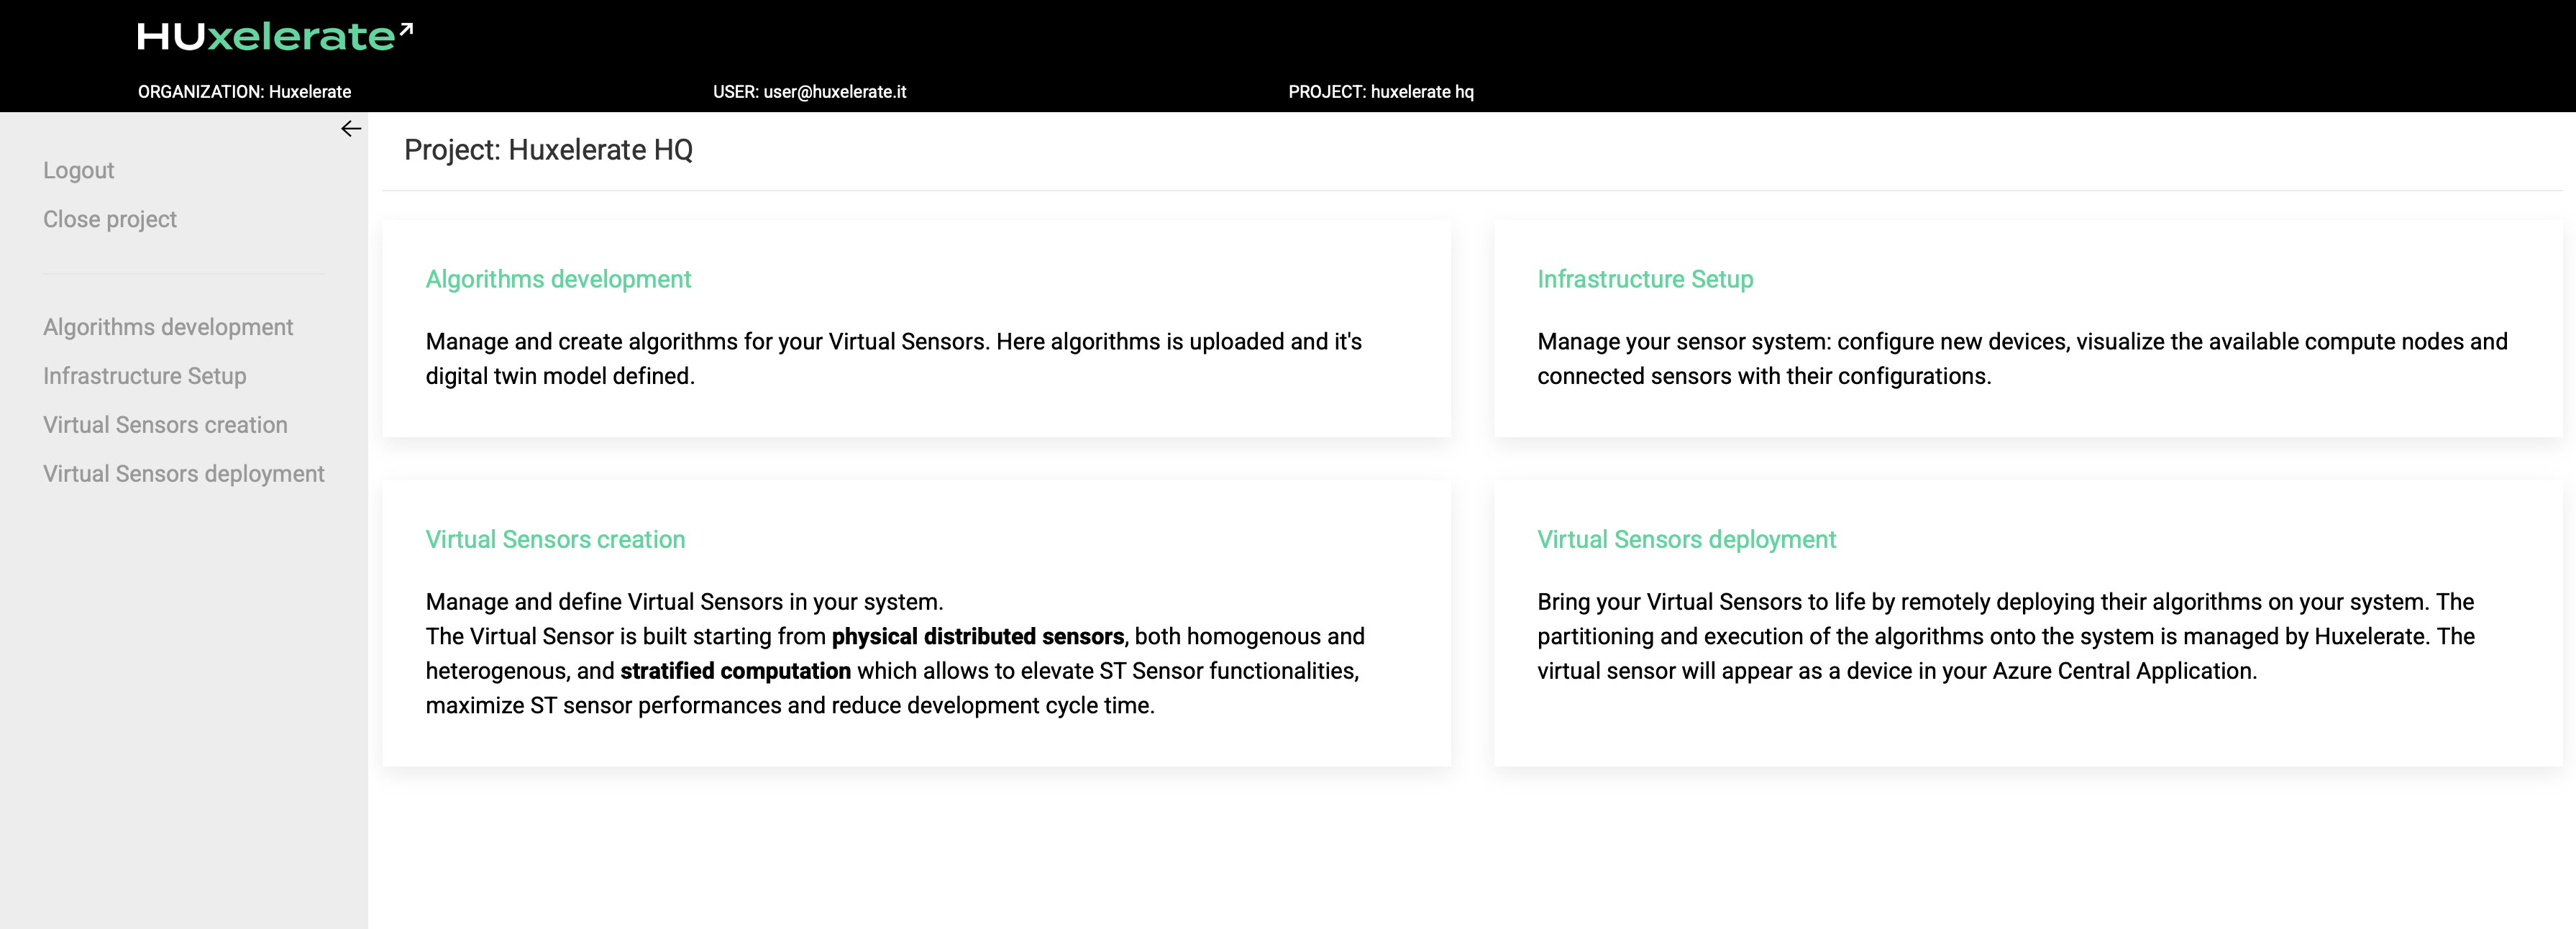
You are now ready to start creating your Virtual Sensors.
Microsoft Azure Central Token
The results of the Virtual Sensors algorithms deployed using Huxon are published to your Microsoft Central Application. You can create a new application, or use an existing one.
To allow interaction between your Central application and Huxon, you need to provide an authentication Token during the project creation. The Token needs to have either an Admin or Custom Role to allow using otherwise restricted APIs, such the ones to automatically generate a Data Export.
To create a new Token, follow these steps:
connect to your Central application
on the left-side menu, under Security click on Permissions
select API Tokens
select New, define a Name and select either the Admin or the Custom Role.
copy and store your token, as it will not be shown to you anymore.
Microsoft Azure Central Custom Role
Each algorithm uploaded to Huxon has an input/output interface that corresponds to a device template in Azure Central, whereas each virtual sensor created in Huxon corresponds to a device in Azure Central. In order to allow Huxon to perform its operations it requires full control of “Device Templates”, “Device Instances” and read acces to the “Device Connectivity Management”.
Furthermore, to enable the Data Explorer feature of Huxon, full control over “Data Export” is also needed.
You may follow these steps in order to create a custom Role.
connect to your Central application
on the left-side menu, under Security click on Permissions
select Roles
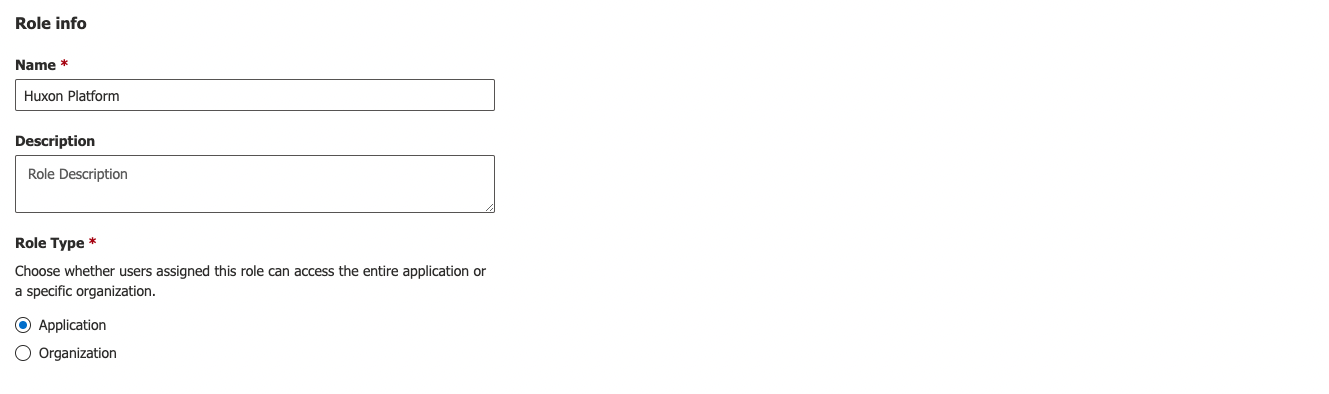
select New, define a Name and check the Application as Role Type
assign Full Control to the following permissions: Device Templates, Device Instances and Data Export
assign Read Instance to the following permission: Device Connectivity Management
save the new Role